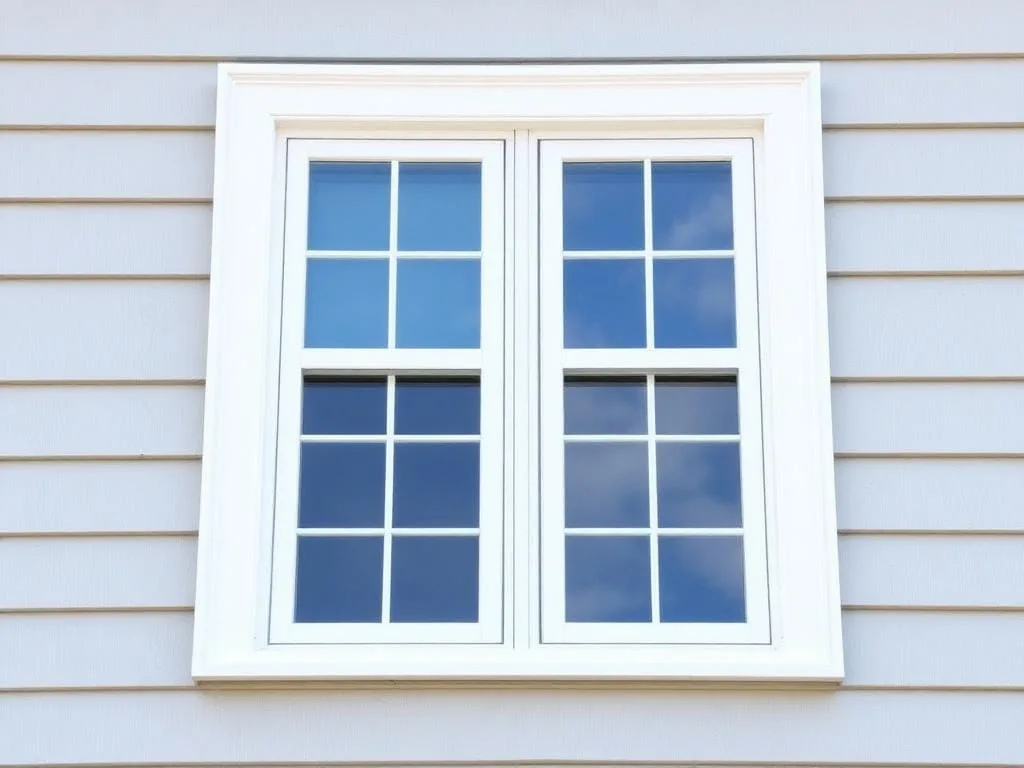
Quick answer: Replacement windows are custom-built units designed to slide directly into your existing window frame once the old sashes and stops are out. This approach avoids tearing into siding or interior drywall, letting an experienced crew complete a standard insert in roughly forty-five minutes with minimal disruption to your home.
Drafty rooms, rattling glass on windy nights, and stubborn sashes that refuse to budge can wear anyone down. When winter rolls in, you feel cold spots near the sill. During summer, your cooling system runs nonstop just to keep up.
Most homeowners delay upgrades because they expect a chaotic construction zone. They imagine saws buzzing for days, sawdust coating every surface, and workers ripping off siding.
Fortunately, modern window replacement is clean, fast, and remarkably non-invasive. You do not need to tear your walls apart to get draft-free performance. In fact, a seasoned crew can swap out ten windows in a single day without leaving a mess behind.
If you have ever wondered exactly how replacement windows are installed, here is what happens on install day, broken down from initial prep to the final bead of caulk.
Understanding the Replacement Window Installation Process
Before anyone brings tools through your front door, you need to understand the two fundamental ways to replace a residential window. The condition of your existing frame dictates which path makes sense.
Pocket Windows vs. Full-Frame Replacement
Pocket installations (often called insert replacements) leave the original wooden frame, exterior brick moulding, and interior trim right where they are. Installers remove only the moving parts and drop a self-contained unit into the opening.
Full-frame replacement is more invasive. Crews tear out everything down to the bare rough opening studs. It takes longer and costs more, but it is necessary if the existing wood has rotted out or you want to expand the opening.
| Feature | Pocket Replacement | Full-Frame Replacement |
|---|---|---|
| Framing Impact | Original frame and trim stay intact | Complete teardown to rough framing |
| Best Scenario | Structurally sound, square wood frames | Extensive wood rot or size alterations |
| Average Labor Time | 30 to 60 minutes per opening | 2 to 3 hours per opening |
| Siding Disruption | Zero impact on exterior wall cladding | Frequently requires siding modifications |
| Glass Area | Slight reduction (approx. 1/2 to 1 inch) | Preserves or expands original glass size |
Roughly eight out of ten residential jobs use pocket inserts. Unless your original frames have severe rot, inserts offer the best balance of speed, cost, and thermal performance.
Preparing Your Home Before the Install Crew Arrives
A little prep work before the crew arrives keeps the job running smoothly and protects your personal items:
- Clear pathways: Move small furniture, floor lamps, and plants at least four feet away from every target window.
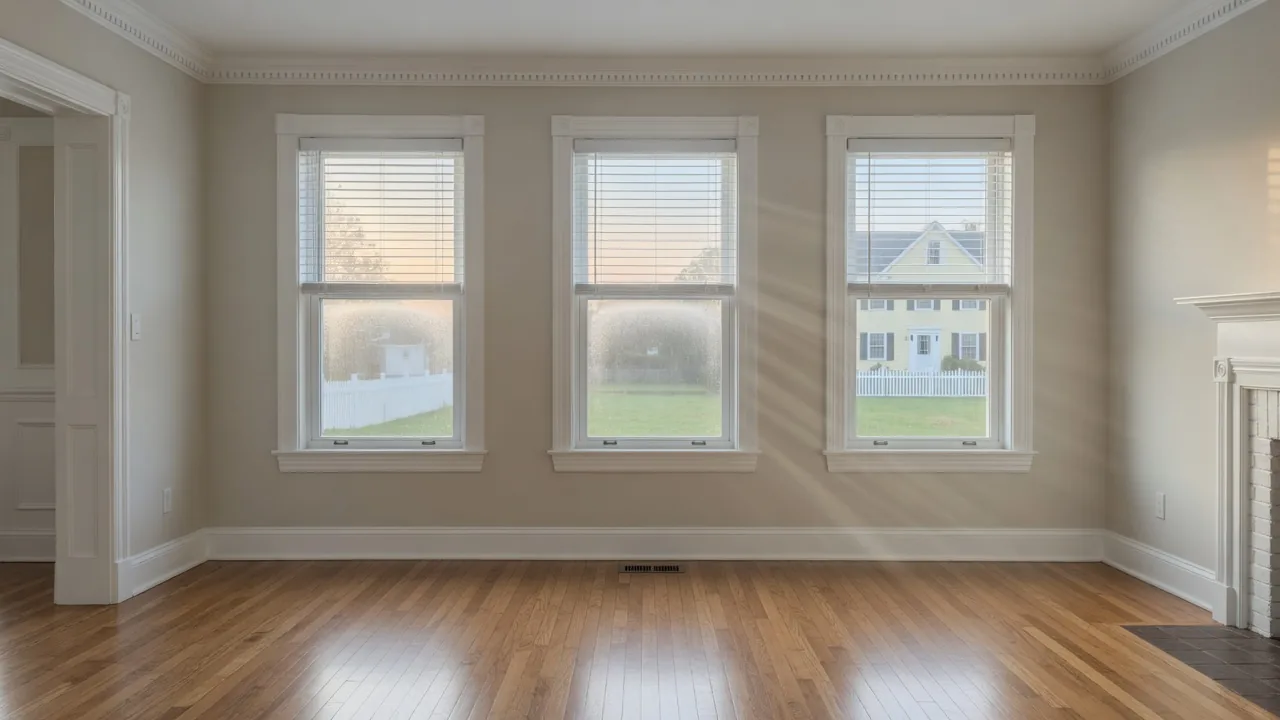
- Strip the glass: Take down blinds, shades, curtains, and mounting brackets so installers have full access to the jambs.
- Cover nearby surfaces: Drop plastic sheeting or old sheets over nearby furniture and rugs to catch stray debris.
- Disable window sensors: Notify your home security provider and remove hardwired or magnetic alarm contacts.
- Contain household pets: Keep dogs and cats in a closed room or off-site to protect them from open windows and busy entryways.
Step-by-Step: How Are Replacement Windows Installed?
When the crew gets on-site, they follow a methodical order. Each step builds on the last to guarantee a weatherproof fit.
Step 1: Precise Measuring and Inspection of the Rough Opening
Good installers never touch a pry bar until they double-check the replacement unit sitting on their truck against the opening in the wall. They measure the height, width, and depth in three spots (top, middle, and bottom). The smallest dimension governs the fit. They also drop a framing square into the corners. If an opening has settled into an irregular trapezoid over fifty years, the installer needs to know now, not after the old glass is already on the lawn.
Step 2: Careful Removal of the Old Window, Window Sash, and Stops
Work starts inside the room. The installer scores the painted seam along the interior stops with a sharp utility knife to avoid peeling drywall paper or splintering historic wood. Using a stiff putty knife and small pry bar, they ease the stops out.
Next comes the lower sash. On older double-hung units, the installer cuts the counterweight ropes or unhooks balance springs, then lifts the bottom sash free. They pull the parting bead, lower the upper sash, detach its cords, and take it out. The bare original frame is now completely open.
Step 3: Inspecting and Repairing the Window Frame and Sill Plate for Rot
With the sashes out of the way, the original sill and jambs are fully visible. The installer pokes an awl into the sill horns and lower corners where rain often collects. If the wood is solid and dry, they scrape away loose paint, vacuum out old sawdust, and move forward.
If they hit soft, punky wood, everything stops. You cannot anchor a new unit into rotted lumber. The bad sections must be chiseled out, treated, and rebuilt with treated wood or epoxy stabilizer before the new window goes in.
Step 4: Dry-Fitting and Leveling the New Window Using Shims
Before opening tubes of sealant, the installer sets the new vinyl or composite window directly onto the sill. This dry fit confirms that gaps are even on both sides, ideally about an eighth to a quarter of an inch.
The installer places a four-foot level across the sill and checks the side jambs. If the house has settled, the sill will slope. The installer slides composite shims underneath the low corners until the bubble sits dead center. Composite shims are preferred over wood because they never compress, rot, or absorb moisture over time.
Step 5: Securing the Unit and Ensuring It Is Plumb
With the window leveled, the installer drives factory-supplied installation screws through pre-drilled holes in the window jambs into the surrounding rough studs. They do not run screws through the bottom sill, which would create an immediate path for water leaks.
During fastening, they check two critical measurements: plumb (vertical alignment) and square (measuring diagonally from opposite corners). Both diagonal measurements must match within a sixteenth of an inch. If the frame bows or twists, the sashes will bind, slide stiffly, or refuse to lock properly.
Step 6: Applying Professional Flashing, Low-Expansion Insulation, and Caulking
Once fastened, a quarter-inch gap remains around the entire perimeter. Packing standard pink fiberglass into this gap is a mistake. Fiberglass allows air to filter right through and loses insulating power when damp.
Instead, professionals inject closed-cell, low-expansion polyurethane foam around the frame. This foam expands gently to seal air leaks without exerting enough pressure to bow the vinyl jambs. Proper air-sealing around the perimeter is what actually delivers high energy efficiency once the project is finished.
Step 7: Installing Interior Trim and Exterior Sealant
The crew reinstalls the original interior stops using small finish nails, patching nail holes as they go. Outside, any exposed wood gets capped with custom-bent aluminum coil stock to eliminate future exterior painting.
Finally, the installer runs a smooth, continuous bead of commercial-grade elastomeric silicone caulk where the window meets the exterior casing. A small weep gap is left along the bottom edge so any stray condensation can escape rather than rotting the wall.
Key Technical Factors in Modern Window Installation
How Replacement Windows Are Sealed and Insulated for Energy Efficiency
Old-school installations relied on stuffed insulation and simple caulk. Modern techniques combine three distinct defensive layers:
- Exterior drainage plane: Flexible flashing tapes and aluminum capping shed driving rain down the outside of the wall.
- Thermal air barrier: Low-expansion polyurethane foam cures into a solid barrier that blocks draft infiltration.
- Interior vapor barrier: High-grade latex or elastomeric sealants prevent indoor humidity from reaching cold structural framing.
This three-tier approach keeps exterior water out while stopping interior moisture from condensing inside the wall cavity.
Can Replacement Windows Be Installed from the Inside?
Yes, and for two-story colonials or multi-family urban buildings, it is standard practice. Because pocket inserts fit directly inside the existing blind stop, the entire tear-out, placement, and fastening sequence happens from the bedroom or hallway floor.
Installers only step outside briefly on a ladder to seal the perimeter casing and cap the exterior sill. That eliminates the need for expensive scaffolding and protects flower beds and shrubs around your foundation.
Timeline and Expectations: How Long Does It Take?
Average Hours Per Window and Total Project Duration
On a house with sound frames, a two-person crew needs about forty to fifty minutes per window. Here is a realistic timeline for an average home:
- Single window replacement: 45 to 60 minutes.
- Small ranch home (8 to 10 windows): 1 full working day.
- Large two-story home (15 to 25 windows): 2 to 3 working days.
Crews work room by room. They finish one opening completely before starting the next, meaning your home is never left exposed to the weather overnight.
What Happens If Hidden Water Damage or Rot Is Found?
If an installer pulls a sash and finds rotted framing, the schedule shifts. Rebuilding a window sill plate, replacing rotted jack studs, or repairing water-damaged exterior sheathing can add two to three hours to that opening.
This extra carpentry work increases your overall replacement window installation cost, but taking shortcuts is never worth it. Setting a new window on rotted wood causes air leaks, frame sag, and glass breakage within two seasons.
Why Choose Professional Installation Over DIY?
Protecting Manufacturer Warranties and Structural Integrity
Window manufacturers provide 20-year to lifetime warranties on glass and vinyl components, but their fine print is strict. If a sash fails to seal because the frame was installed out of square, or if moisture enters around improperly placed screws, claims get denied instantly.
Experienced crews follow exact factory fastener patterns, track clearance tolerances, and use approved sealants to keep warranty protections fully valid.
The Risks of Incorrect Window Measurements or Poor Weatherproofing
Window manufacturing tolerances run tight, often within an eighth of an inch. If you misjudge a rough opening depth or fail to catch an out-of-square frame when ordering custom units, you end up with expensive windows that simply will not fit. (Here is how to measure a window for replacement the right way.)
Worse, improper caulking can trap rainwater inside your wall cavity. By the time mold appears on your drywall, structural studs may already have begun to rot. Booking a qualified team for professional window installation prevents costly structural repairs down the road.
Why Trust Quality Roof Pros
With decades of hands-on residential construction and exterior remodeling experience, our team knows what it takes to protect your home against harsh weather. We have seen firsthand how sloppy installations ruin good building materials, and we approach every project with zero tolerance for shortcuts.
Unlike lead-generation directories, our guides are built on real field experience from active job sites. We focus on clear advice, proven construction standards, and durable craftsmanship that keeps your home comfortable, safe, and efficient year after year.
Securing Your Home’s Future Comfort
Replacing tired, drafty windows is one of the smartest investments you can make in your home’s daily comfort and long-term value. Once you know what installation entails, the process feels far less intimidating. Take time to inspect your existing frames for softness or drafts, gather quotes from experienced local contractors, and choose products that fit your regional climate. With the right crew handling the work, you will enjoy quiet, draft-free rooms for years to come.
Frequently Asked Questions About Window Installation
Do replacement windows require removing the entire window frame?
No. Standard pocket windows fit right inside your existing wooden frame. As long as the original sill and jambs are square, sound, and free from rot, the exterior trim, siding, and interior woodwork stay untouched.
How are replacement windows kept airtight and watertight?
Installers apply low-expansion foam into the rough opening gap to block drafts, followed by custom aluminum capping and commercial silicone exterior sealant to stop wind-driven rain.
Can windows be replaced during winter months?
Yes. Professional teams replace windows year-round down to freezing temperatures. They work on one opening at a time and keep interior doors closed, so each room is only exposed to outside air for twenty to thirty minutes.
Will replacement windows reduce the amount of light entering the room?
With pocket inserts, the new vinyl or fiberglass frame sits inside the old frame, reducing the glass area by about a half-inch to an inch on each side. If maximizing daylight is your top priority, consider full-frame replacement instead.
What are the earliest signs that my window sills have rot?
Look for peeling or bubbling paint along the lower sill, brown water stains on the interior trim, or wood that feels soft and spongy when pressed with a flat-head screwdriver.
How long should high-quality replacement windows last?
Well-built vinyl, fiberglass, or wood-clad replacement windows typically last twenty to thirty-five years, provided they are installed level, square, and sealed against driving rain.
Will the installation process damage my interior drywall?
No. Pocket installations leave your drywall completely untouched. Crews carefully score paint lines before removing trim to prevent any cracking or peeling.
Do I need a building permit for replacement windows?
Usually not for standard pocket inserts, since the home’s structural framing isn’t altered. Full-frame replacements or size changes typically require local approval.
Do I need to move all my furniture?
No. You only need to clear a three-foot working space around each window and remove your blinds, curtains, and mounting brackets.
What happens to my old windows and construction debris?
Professional installers handle all disposal. They haul away the heavy glass, old sashes, and wood scraps, leaving your floors fully swept and vacuumed.