Quick answer: Soffits protect roof framing from moisture, pests, and weather while helping maintain proper attic ventilation. Common warning signs of soffit damage include rot, mold, peeling paint, sagging panels, and pest activity, and replacement involves removing damaged sections, checking the rafters, measuring and cutting new panels, installing them correctly, and preserving airflow. Material choice, replacement costs, routine inspections, and the extent of structural damage all help determine whether a DIY repair is practical or professional help is needed.
We’ll let you in on a secret: most homeowners never look up. We obsess over mowing our lawns and power-washing our siding, but that flat area tucked right underneath the roof edge? We completely ignore it. That is, until a huge problem forces us to pay attention.
Ignoring a sagging or rotting roof overhang is a very expensive mistake. When water gets in, it doesn’t just stop outside. It works its way straight into your attic. If you’ve started noticing peeling paint, weird dark spots, or squirrels treating your eaves like a high-rise apartment, it’s time to take action.
Learning how to replace soffit isn’t some impossible task reserved only for expensive contractors with massive crews. With a free weekend, some patience, and the right approach, you can completely overhaul your roofline. In this guide, we are going to walk you through exactly how we tackle this on real-world job sites, helping you skip the rookie mistakes and get a tight, professional finish.
Key Takeaways
- Ventilation is everything: You aren’t just covering up rafters; you are creating a breathing system for your attic.
- Save the fascia if you can: You can often swap out the panels without ripping down the entire front board.
- Measure twice, cut slightly short: Leaving a quarter-inch gap allows the new material to expand during hot summer months.
What is a Soffit and Why is it Important?
The Role of Eaves and Roofline Protection
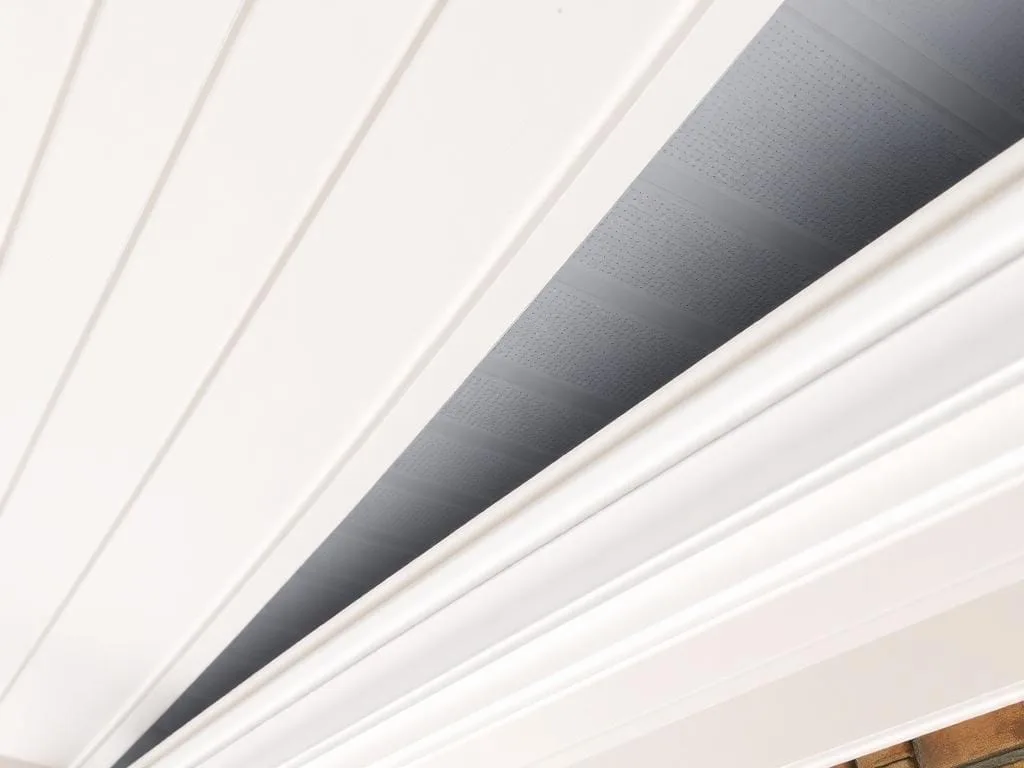
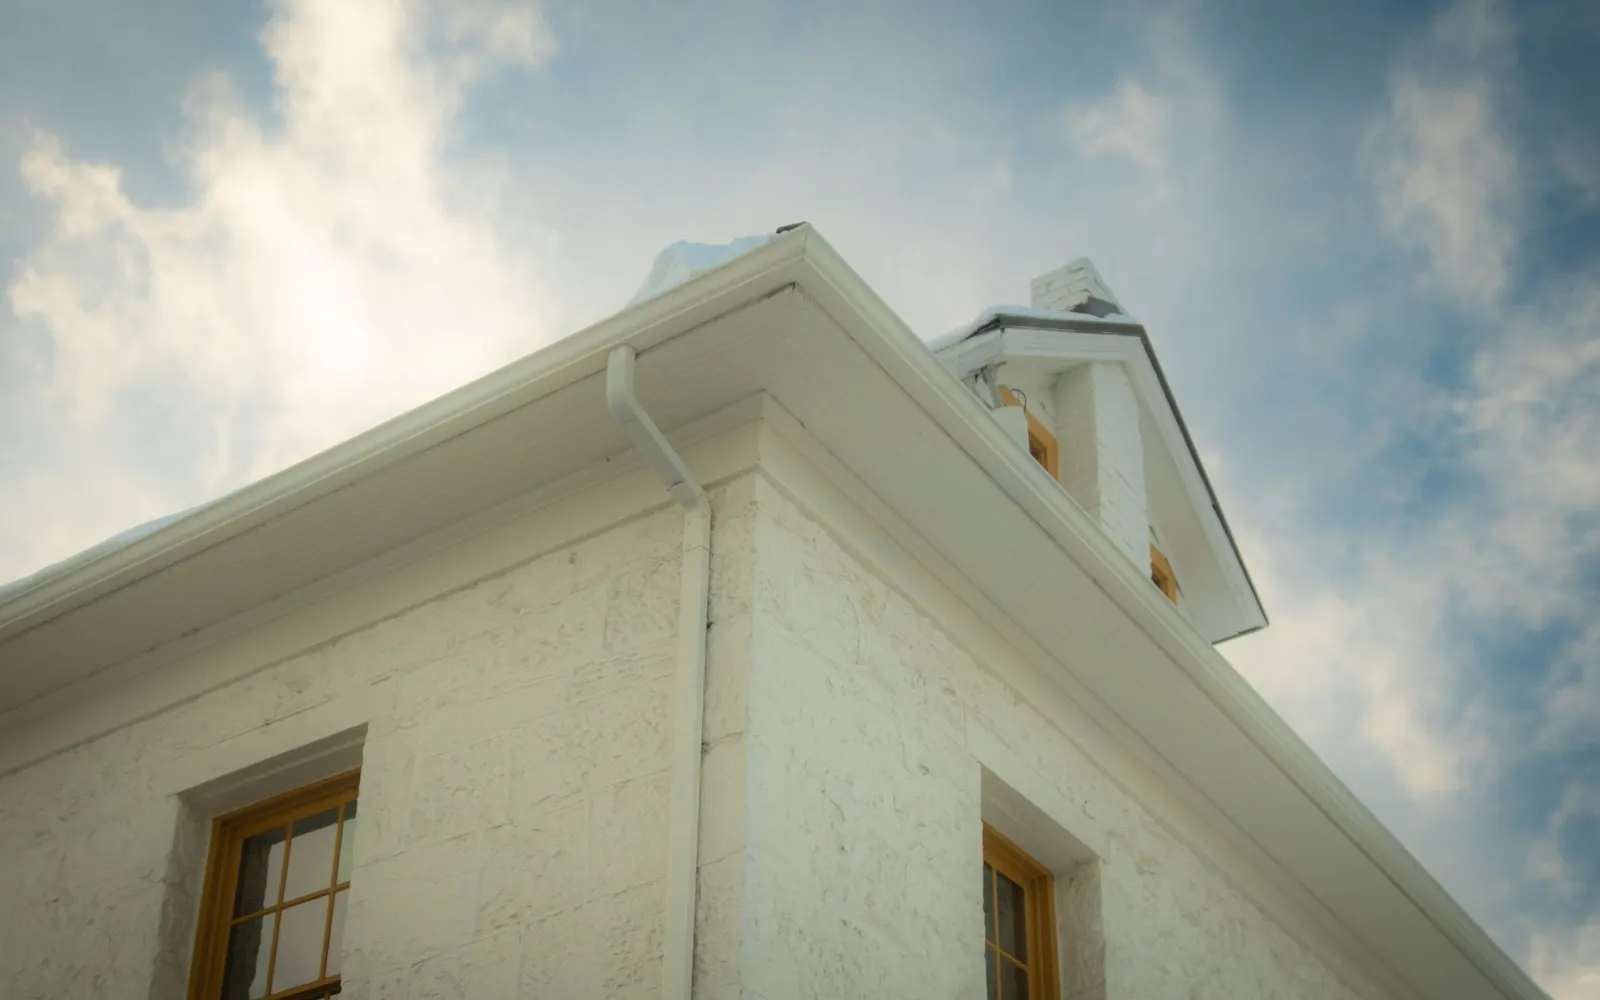
Stand outside and look up at your roof edge. The vertical board holding your gutters is the fascia. The flat, horizontal material connecting that board back to your house siding is the soffit.
Think of it as a giant umbrella for your exterior walls. It shields your exposed rafter tails from wind-driven rain. Without this barrier, the wood framing holding your roof together would constantly soak up moisture and quickly rot away.
Why Proper Roof Ventilation Matters
Blocking rain is only half the battle. Your attic turns into an oven during the summer, and it desperately needs to breathe. That is where soffit vents come in.
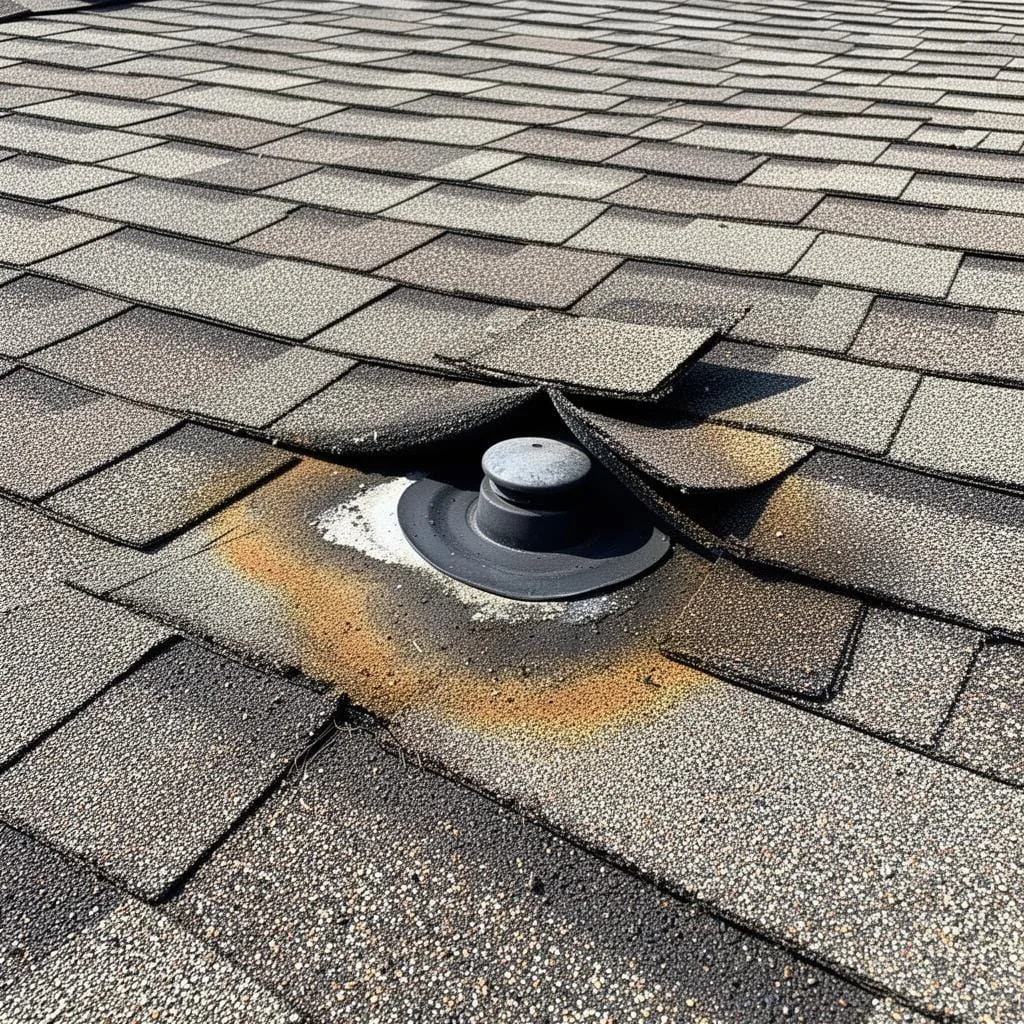
These vents pull fresh, cool air up into the attic, which forces the boiling hot air out through your top roof vents. If your overhang is completely sealed off, heat and moisture get trapped inside. Attics can end up completely covered in black mold simply because the overhang lacked proper airflow. Good ventilation stops moisture before it starts.
Signs Your Soffit Needs Replacing
You don’t want to guess when it comes to exterior maintenance. Here is exactly what we look for when we are doing an inspection.
Rot, Mold, and Moisture Damage
Grab a broom handle and gently poke the underside of your eaves. Does the wood feel solid, or does it feel like a wet sponge? If it feels soft, or if you can literally see dark brown or black water stains spreading across the material, a quick paint job won’t save you. You have severe moisture damage, and you need a full soffit replacement.
Pest Infestations in the Overhang
Birds, wasps, mice, and squirrels are constantly looking for a warm, dry place to build a nest. A broken or sagging overhang is basically an open invitation. If you hear scratching noises above your ceiling at night, or if you stand outside and watch wasps flying up underneath the drip edge, you need to replace damaged soffit sections right away. If you wait, they will chew through the wood and move right into your attic insulation.
Peeling Paint and Structural Sagging
Wood and older composite materials sag when they absorb water over a long period. If you notice the panels bowing downward, or if the paint is flaking off in chunks, the structural integrity of the material is completely gone. At that stage, trying to do a basic soffit repair with some caulk and wood filler is just a waste of time. You need to strip it down and start fresh.
Why Trust Quality Roof Pros
At Quality Roof Pros, we tear off bad roofs and fix exterior messes that other people left behind. We don’t just write theory sitting behind a desk, we deal with real-world home improvement problems.
We share the actual, hands-on methods we use out in the field so you aren’t left guessing when you try this yourself. If you get in over your head and need professional roof soffit replacement, give our team a call.
Tools and Materials Needed for Soffit Replacement
Don’t just grab a rusty hammer from your garage and start swinging. Having the right tools staged and ready will keep you from destroying the adjacent wood out of frustration.
Essential Tools
Here is what we always bring out of the truck before we start pulling anything down:
- Flat Pry Bar: You need a thin one to slide behind the wood without cracking it.
- Sharp Utility Knife: Crucial for slicing through decades of old, hardened caulk.
- Tin Snips: If you are cutting vinyl or aluminum, a good pair of aviation snips makes life so much easier.
- Measuring Tape & Square: Guessing the cuts is how you waste expensive material.
- Sturdy Extension Ladder: Make sure it has levelers if you are working on a sloped driveway.
- Safety Glasses: You are going to be looking straight up while pulling down dirty, dusty, paint-covered wood. Protect your eyes.
Materials List
- Replacement Panels: You can choose wood, aluminum, or vinyl based on your budget.
- J-channel and F-channel: These are the tracks that will hold the edges of your new panels against the house.
- Exterior-Grade Caulk: Don’t buy the cheap interior stuff; get something rated for heavy weather.
- Galvanized Nails or Screws: They must be rust-proof.
How to Replace Soffit Panels (Step-by-Step)
Alright, let’s get our hands dirty. If you follow this DIY soffit replacement step by step, you’ll avoid the headaches most beginners run into.
Step 1: Safety and Prep Work
First things first, park your ladder on solid, flat ground. Never lean out to the side while you are up there. If you can’t reach a spot comfortably, climb down and move the ladder. Use your utility knife to score the caulking line where the overhang meets the wall. Breaking this seal now prevents the paint on your siding from tearing off later.
Step 2: How to Remove Old Soffit Panels
Take your flat pry bar and wedge it behind the lip of the fascia board. Gently pull the old material down. People often ask how to replace soffit without removing fascia, and here is the trick: if the front board is still solid, you don’t need to rip it off. Take your pry bar, loosen the nails holding the panel in place, and gently bend the old panel right in the middle. It will pop out of the track. Don’t yank it violently, or you’ll snap the wood track that you actually want to keep.
Step 3: Inspect the Rafters and Cut the New Pieces
Once the old stuff is out, shine a flashlight up into the dark space. Look closely at the exposed rafter tails. If you find rotten wood up there, stop. Rotted rafter tails are structural, so call a pro to repair them before you cover anything up again.
If the wood is solid, you are ready to cut. Measure the gap from the house wall to the inside lip of the fascia. Grab your tin snips. When figuring out how to replace vinyl soffit panels, remember that plastic expands in the heat. Cut your new pieces about a quarter-inch shorter than your exact measurement so they have room to breathe without buckling in July.
Step 4: Final Installation
Nail your J-channel tight against the house wall. This acts as the receiving track. Slide the back end of your first panel deep into that channel, then push the front edge up into the groove on the back of the fascia board.
Once the first one is locked in, you just keep moving down the line. The edges of the panels interlock with each other. Make sure you are paying attention to your ventilation, if you aren’t using fully vented panels, size the vent area to the attic’s requirements to keep that attic airflow moving.
Whether you’re wrapping up an aluminum soffit replacement or a standard vinyl soffit replacement, you finish the job the exact same way. Once every piece is locked in and nailed up, grab your caulking gun. Run a smooth, continuous bead of exterior caulk along the seams where the J-channel meets the siding. That is how you execute a flawless exterior soffit replacement.
Conclusion
Fixing up your roofline might not be the most glamorous home improvement project, but it is easily one of the most important. A tight, well-ventilated overhang keeps the brutal weather and the neighborhood critters on the outside where they belong. Just take your time pulling the old material down, take highly accurate measurements, and prioritize your attic’s airflow. Tackle it one small section at a time, and you’ll easily knock this out over the weekend.
FAQs
Can you replace soffit without removing fascia?
Yes. As long as your fascia board isn’t rotting, you can carefully score the old caulk, loosen the holding nails, and gently bend the panels to pop them right out of the existing groove.
How much does it cost to replace soffit?
If you are willing to climb the ladder and do the labor yourself, the materials usually run about $1 to $3 per linear foot. If you hire a professional crew to handle the soffit installation, expect to pay roughly $3 to $15 per linear foot installed, depending on whether you choose vinyl, aluminum, or composite.
Should I use vinyl or aluminum for my home?
Both are great, but they serve different needs. Vinyl is cheaper, incredibly easy to cut with hand tools, and won’t ever rot. Aluminum is a bit more expensive but holds up much better against high winds and severe weather.
Are soffit vents actually necessary?
Yes, 100%. Your attic acts like a huge heat trap. Without steady, cool airflow coming up through the bottom of the eaves, moisture will build up rapidly and mold will completely take over your attic space.
What should I do if I find rotten wood underneath the old panels?
Stop what you are doing immediately. Never cover up rotting wood. Damaged rafter tails are structural, so call a pro to repair them before you install any new covering.
Can I use a power saw to cut these pieces?
You can, but it gets messy. Honestly, a good pair of tin snips is much cleaner and way safer when you are learning how to repair soffit.
When should I just give up and hire a professional?
You should call a pro if you pull down the first panel and discover extensive structural rot, if your roof is higher than two stories, or if you simply feel unbalanced and unsafe standing on an extension ladder.
What exactly is the J-channel used for?
Think of the J-channel as the anchor. It gets nailed directly against the wall of your house, and the back edge of the panel slides right into it, holding the material firmly in place so it doesn’t sag.
How to repair soffit cheaply on a budget?
Figuring out how to repair soffit on a tight budget is simple: spot-fix it. Only replace damaged soffit sections instead of tearing down the whole roofline. This basic soffit repair saves a ton of cash.
How often should I check my eaves for damage?
Make it a habit to look up twice a year. The best time is during the spring and fall when you are already outside cleaning the leaves out of your gutters. Catching a small crack early saves you from a massive headache later.